Project summary
This was the fourth project in my electromechanical systems class. We were tasked with making a complex game utilizing at least one motor and a microcontroller. I set out to make a miniature claw game using primarily laser-cut parts. I designed the entire machine in Onshape and built it over the course of a few days. I wrote all the code in CircuitPython on a KB2040 microcontroller. This is one of my favorite projects because of how it incorporated so many aspects of what we were learning in class and had so many different moving parts (figurative and literal). It was also just super fun to play 🙂
How I did it
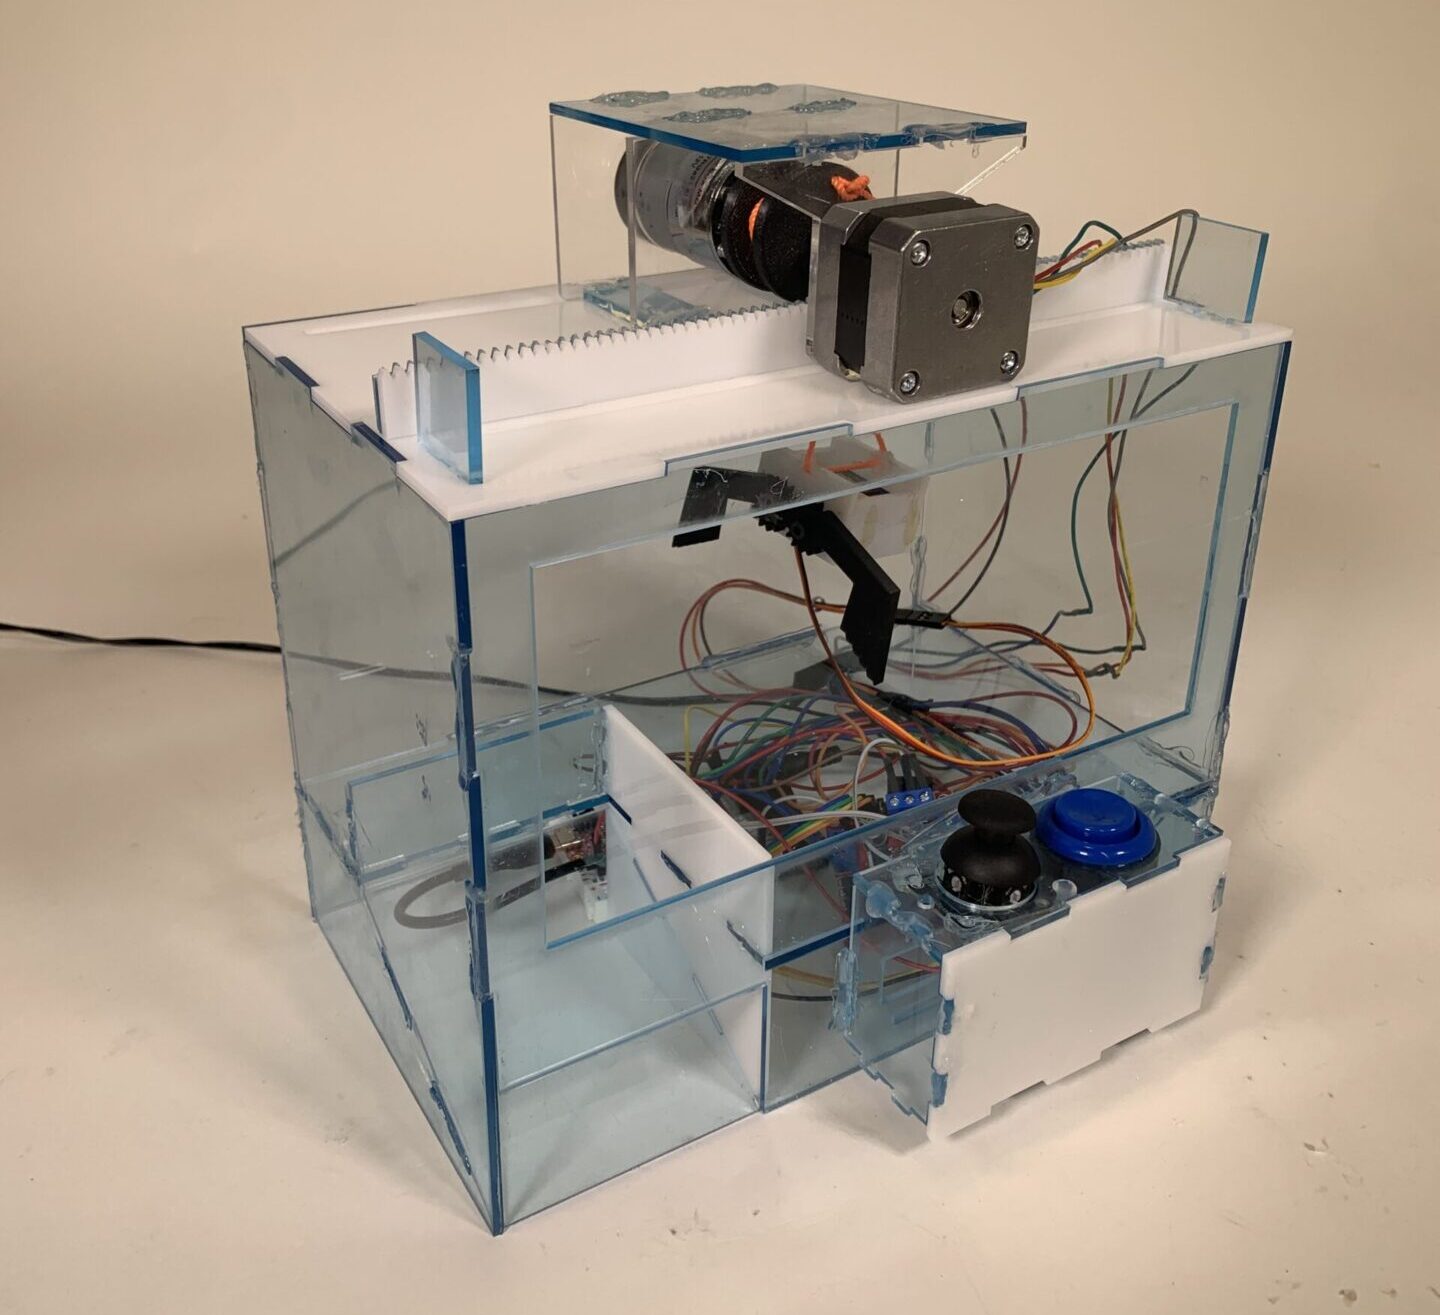
The device utilizes three motors: a small servo to open/close the claw, a high-torque 12V DC motor to control the vertical movement of the claw, and a stepper motor to move the claw left and right. The DC and stepper motor are each powered off of a L289N motor driver, and the servo is powered off of one of the 5V regulators built into the L289N. The motors are all controlled via a KB2040 microcontroller coded in CircuitPython, which receives input from a button and joystick to control the claw and movement of the claw, respectively.

Most of the non-electronic parts of the device were laser cut, with the exception of the motor hub, a stopper device on the stepper motor that kept the gears from falling off, and the claw arms. As I noted previously, everything I fabricated was designed in Onshape, with much help from the Laser Joint tool (truly life-changing).


Progression of the CAD model
For the fabrication process, I started off with a wood prototype to verify that the mechanism somewhat worked before moving on to acrylic. I would’ve loved to make the entire housing out of clear acrylic, but I didn’t have enough and also some of the pieces broke.


Various steps during the building process
The central mechanical problem of the project was figuring out how to move the claw assembly left and right. I already ruled out using a belt system, as this would’ve made the game overly complex and also require parts beyond the capabilities of laser-cutting/3D printing, so I settled on a rack and pinion system, where the pinion is doing the linear translation. This prevents the rack from hanging over either side of the device, which wouldn’t have been ideal. The stepper motor and the DC motor its connected to slide together along the surface of the top panel, causing the claw and whatever its holding to move left and right. Luckily acrylic already has a relatively low coefficient of friction, but I added grease just to make sure it glided smoothly. The result was a nifty mechanism that was equally fun to make as it is to watch!
A test of the rack and pinion system
As you can see, here the rack and pinion is working relatively well, but the panels that mount the motor are catching on the guides that keep the motion linear. I later fixed this by rounding the corners of the panels.
Another mechanism worth noting is the claw mechanism, which consists of two part-gear part-gripper things, one of which is attached to the servo, and the other allowed to freely rotate. This was tough to get right at first, but it ended up being surprisingly strong and effective.

Claw design
Claw test
Through designing the claw and rack and pinion systems I learned a lot about making geared mechanisms.
Results
The game was a hit at the demonstration fair, where everyone played each other’s games.


Players vying for their favorite flavor jolly rancher
The game in action
Finally, a video of me explaining the overall features of the game: